Once you have setup your initial uWebChat tenant, other agents can be added to use uWebChat. First, they must install uWebChat inside either their Teams desktop client, or within the web client of Teams.
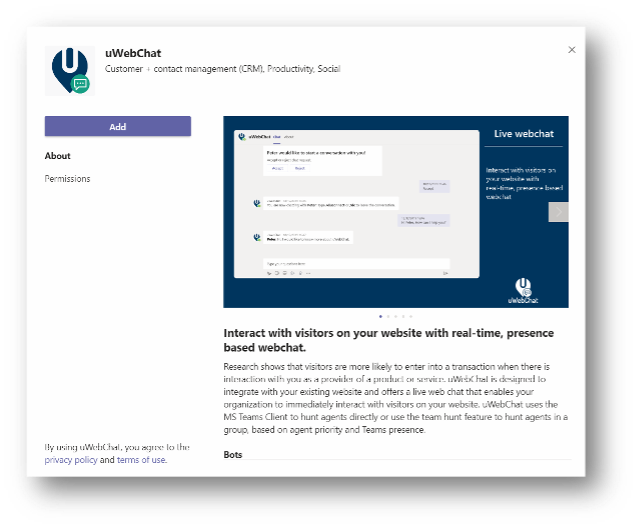
uWebChat can be installer per user by simply opening Teams, clicking on the ellipsis (…) button on the left side and searching for uWebChat.
From there, they can click on the uWebChat button and then click Add.
Once uWebChat has been added, it may be useful for the agent to pin the uWebChat application to the left bar of Teams so that it is always available. Simply right-click on the uWebChat icon on the left bar and select the Pin option.
If your users are unable to add uWebChat to their Teams, this might be related to a permission issue on your Microsoft 365 tenant. By default, all users can add applications to their Teams client. If you or your IT team have setup limited permissions for installing apps, it may be required to whitelist uWebChat. This can be done from the Teams Admin Center by an administrator that has either the Teams Admin or Global Admin role. See this Microsoft article for more details:” https://docs.microsoft.com/en-us/microsoftteams/admin-settings
Managing Agents
There are three commands that are designed to manage the agents in your uWebChat tenant:
- Show me all agents – This shows all the agents in your uWebChat tenant, whether they are active or not.
- Activate agent – Guides you through activating an agent.
- Remove agent – Guides you through removing an agent.